Just four ingredients, this super-easy oat slice will be one you're adding to your weekly rotation - you might even have all the ingredients in the house right now! I've kept the flavourings intentionally vague so you can tailor this recipe to your family's tastes, the ingredients you've got on hand and also allergy considerations (such as nuts). One base recipe, thousands of options! And I promise - it really is so easy. Put an episode of your favourite show after dinner and whip up a batch, you'll feel like a rockstar in the morning (and the kids will be thrilled!).
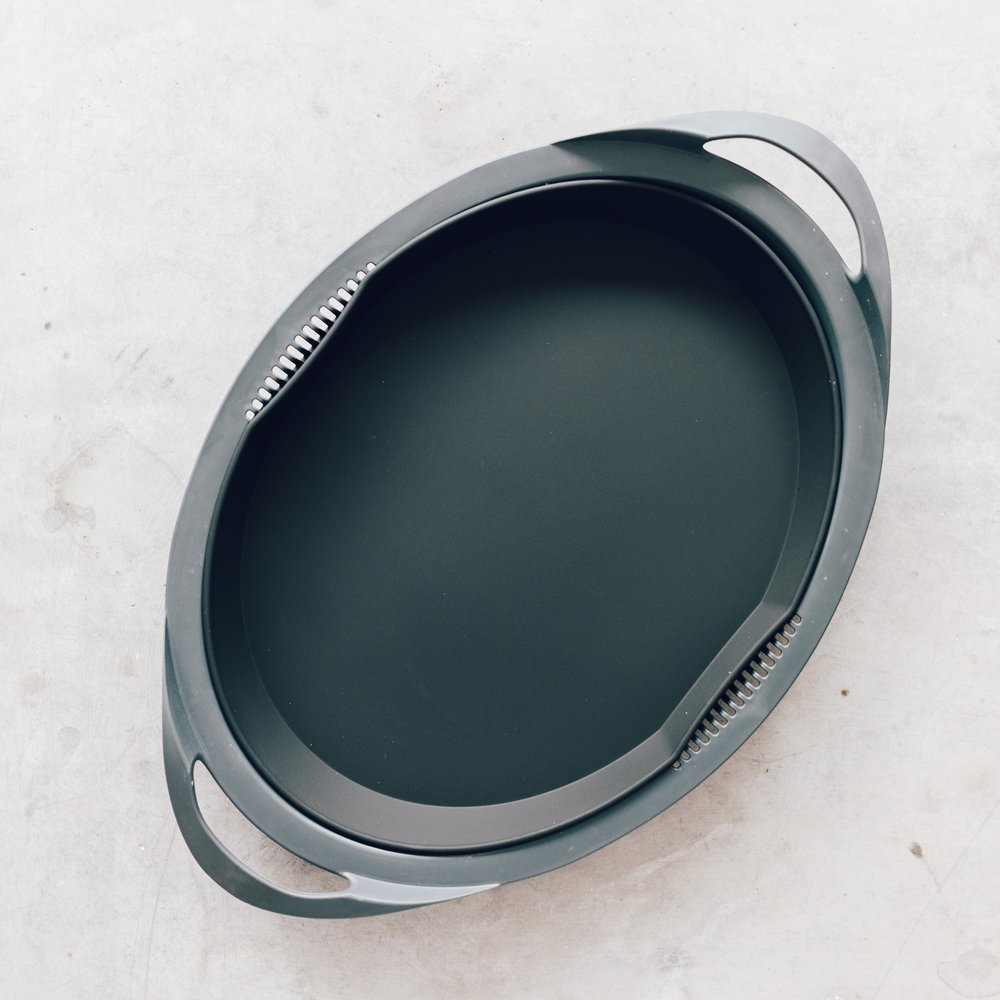
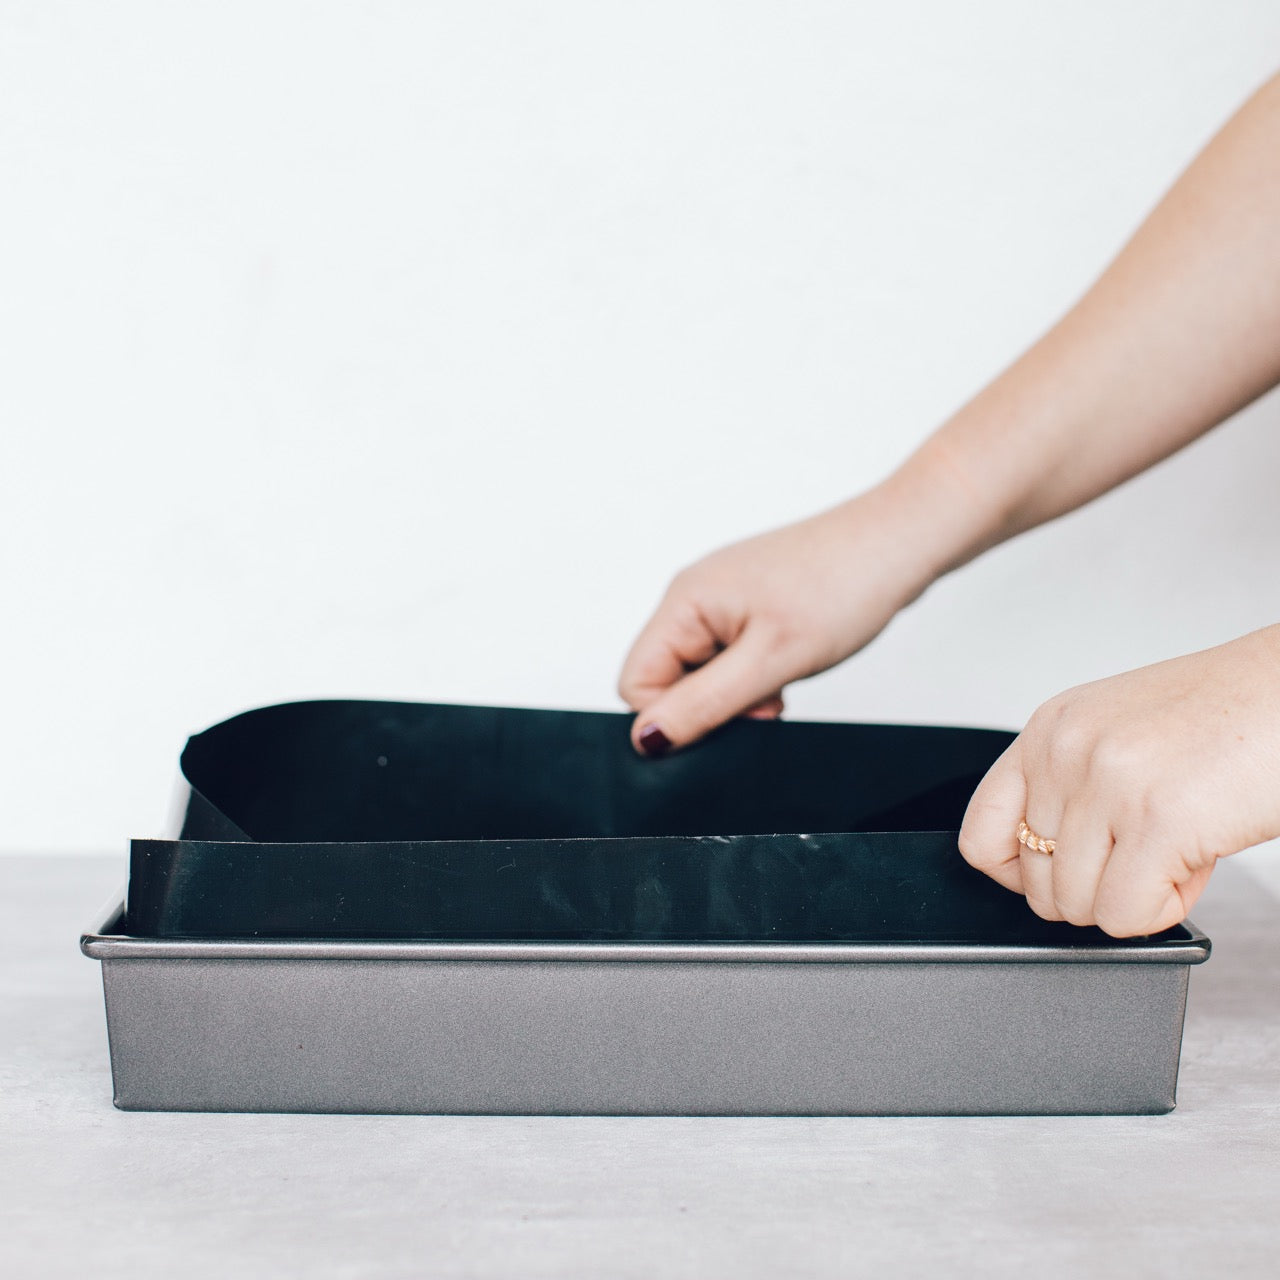
What makes this recipe even easier is using our Reusable Cake Tin Liners - no need to faff about lining and greasing your slice tin. Just throw in the liner, pour in your mixture and you're good to go. Wipe down, throw back in the draw and use again and again. You'll love them!
Serves 12
+soy free
+nut free (option)
+egg free
+dairy free (option)
+vegetarian
+vegan (option)
Ingredients
200g mixed dried fruit, nuts, seeds and coconut (make up whatever mix you like, or purchase a trail mix and use that, combined weight needs to be 200g, not 200g of each)
150g butter, dairy-free spread or natural-tasting coconut oil
150g honey or golden syrup
300g oats (not instant)
Method
- Preheat oven to 180C. Line a 20cm square cake tin with baking paper, or better yet use our reusable tin liner (much easier - check them out here).
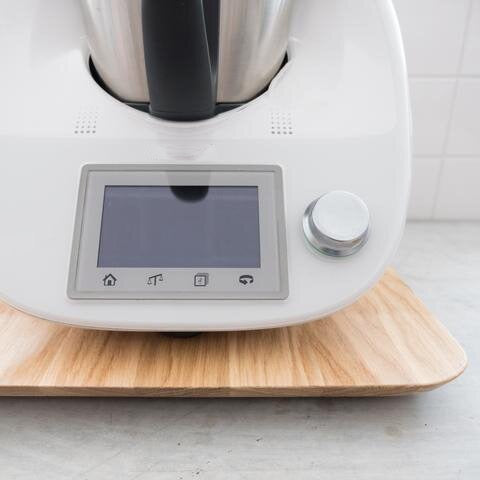
- Place mixed fruit, nuts and seeds in TC bowl, chop for 2 seconds, speed 8.
- Add butter (or substitute) and honey or golden syrup, warm for 2 minutes, 60C, reverse speed 3.
- Add oats, mix for 15 seconds, reverse speed 4. Combine any loose oats in using Thermo Spoon Spatula.
- Pour mixture into lined baking tray. Press down with hands, the back of a spoon or (best), the back of our non-stick Spoon Spatula as seen in the above video. You want the mixture nice and compacted - no crumbly bits.
- Bake for 15 minutes, or until just starting to blush golden on top.
- Remove from oven. Score the top with a knife or dough cutter to make it easier to cut later.
- Allow to almost cool completely before gently sliding the slice off your liner. Use a large knife to cut into serving-size bars. Place bars in the fridge to harden completely.
Now give yourself a high-five; you made your snacks for the week rather than buying them! You legend.
Store in an airtight container in the fridge for up to two weeks.
Variation: If nuts are off the menu (school lunch boxes perhaps), simply use dried fruit, seeds and coconut in your 200g 'trail mix'.

